SANTA FE, N.M. — Late summer marks a highly anticipated culinary window across the American Southwest: Hatch chile season. For a brief, glorious few weeks, the harvests from the fertile soils of the Hatch Valley in New Mexico flood local produce markets, specialty grocers, and digital storefronts nationwide. For home cooks and culinary professionals alike, the arrival of these smoky, sweet, and moderately spicy green pods signals an opportunity to transform everyday weeknight dinners into extraordinary gastronomic experiences.
While these prized peppers can be incorporated into everything from morning breakfast burritos to evening salsas and comforting soups, few dishes showcase their distinctive, buttery flavor profile quite like authentic green chile enchiladas. By anchoring a classic chicken and cheese enchilada recipe with a from-scratch roasted Hatch chile sauce, home kitchens can capture the authentic, vibrant essence of New Mexican cuisine.
Main Facts: Understanding the Hatch Chile Phenomenon
The allure of the Hatch chile goes far beyond its status as a seasonal vegetable; it is a cultural and agricultural touchstone deeply rooted in New Mexico’s heritage.
Geographical Indication: True Hatch chiles are grown exclusively in the Hatch Valley region along the Rio Grande in southern New Mexico. The unique combination of intense desert sunlight, nutrient-rich volcanic soil, and irrigation from the Rio Grande endows the peppers with their characteristic thick flesh and complex flavor profile.
The Harvest Window: The harvest typically commences in early August and peaks through September. During this fleeting period, enthusiasts seek out fresh pods for home roasting, while others rely on frozen, pre-roasted packs available year-round in supermarket freezer aisles.
Versatility in Protein: While this definitive recipe features shredded chicken and melted cheese, the foundational Hatch green chile sauce is robust enough to complement virtually any protein, including shredded pork, slow-cooked beef, or even vegetarian fillings like black beans and sweet potatoes.
Heat Index: Hatch chiles range dynamically in heat levels—from mild to extra hot—depending on the specific cultivar and the amount of sun stress the plant endured during its growth cycle.
Chronology: Step-by-Step Culinary Execution
Crafting exceptional Hatch Green Chile Enchiladas requires a coordinated, multi-step process that balances the roasting of the peppers with the preparation of the protein and the assembly of the final dish.
Phase 1: Roasting and Preparing the Chiles
The foundation of any great green chile sauce is the char. While frozen, pre-roasted alternatives exist, roasting fresh peppers yields a dramatic upgrade in depth and aroma.
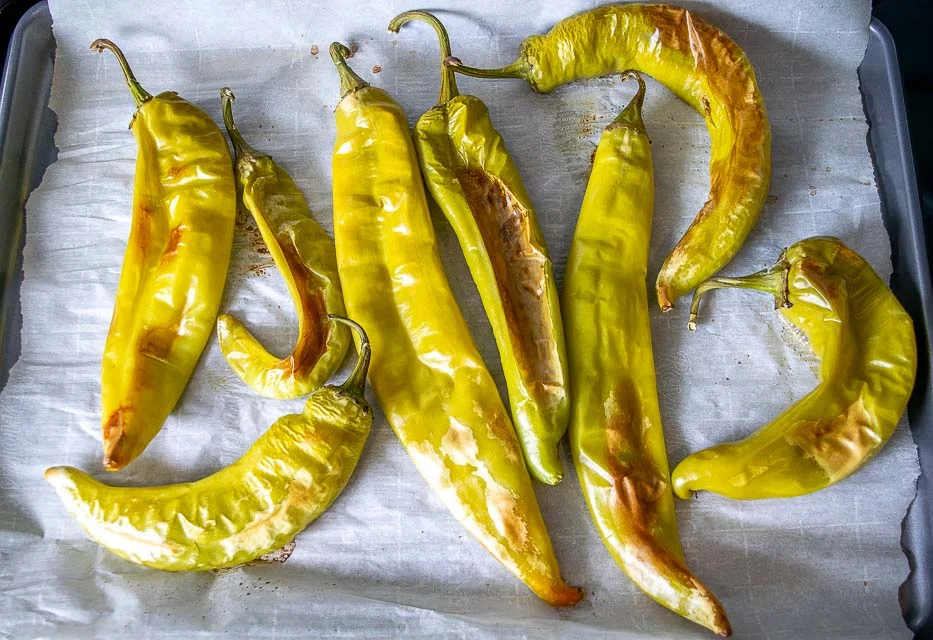
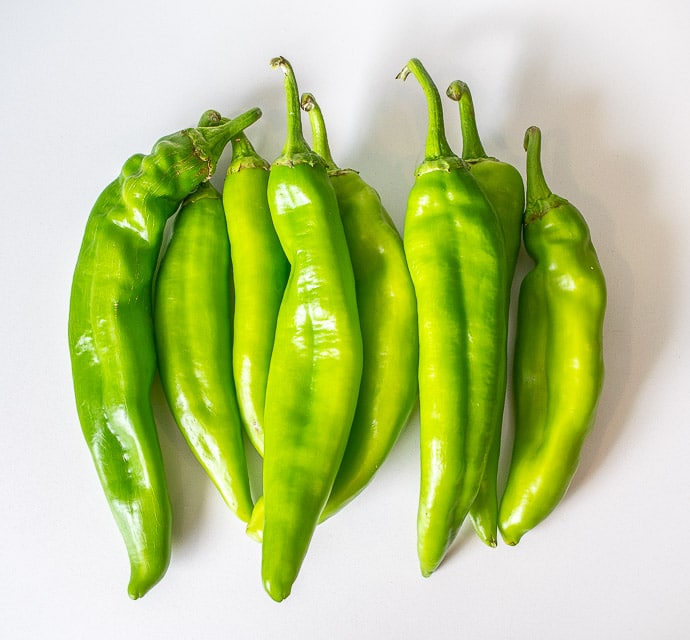
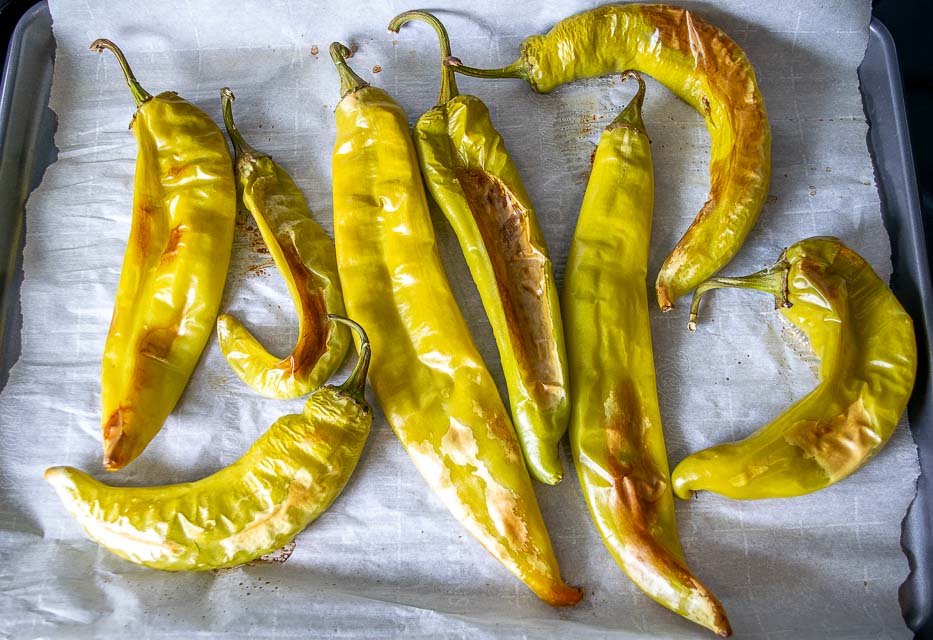
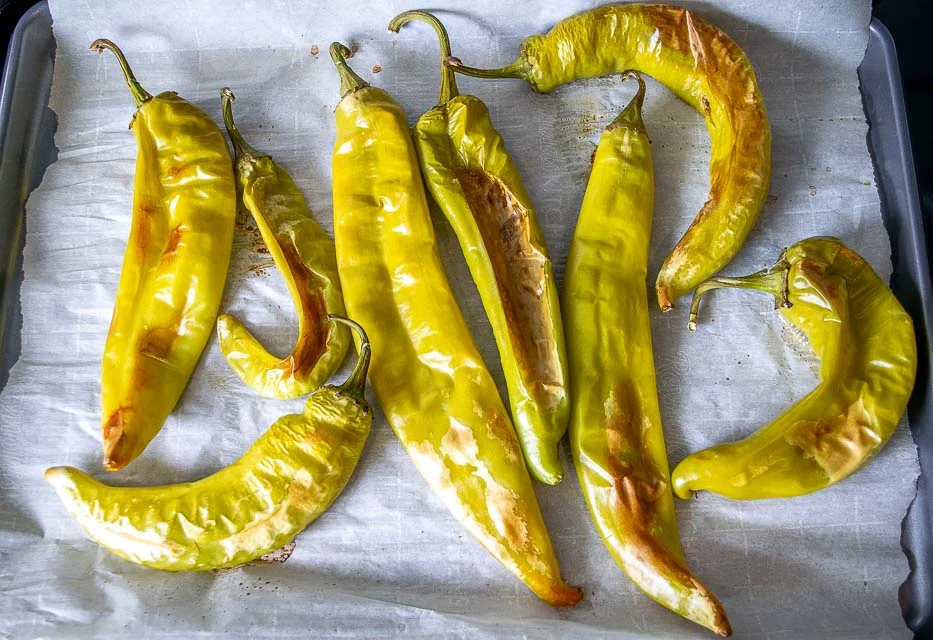
The Roasting Process: Preheat an oven to high heat. Lay out 7 to 8 fresh Hatch green chiles on a baking sheet and roast them for approximately 25 minutes (alternatively, blister them over an open flame on a backyard grill or gas stovetop). The skins should puff up and develop a smoky char, releasing an intoxicating aroma across the kitchen.
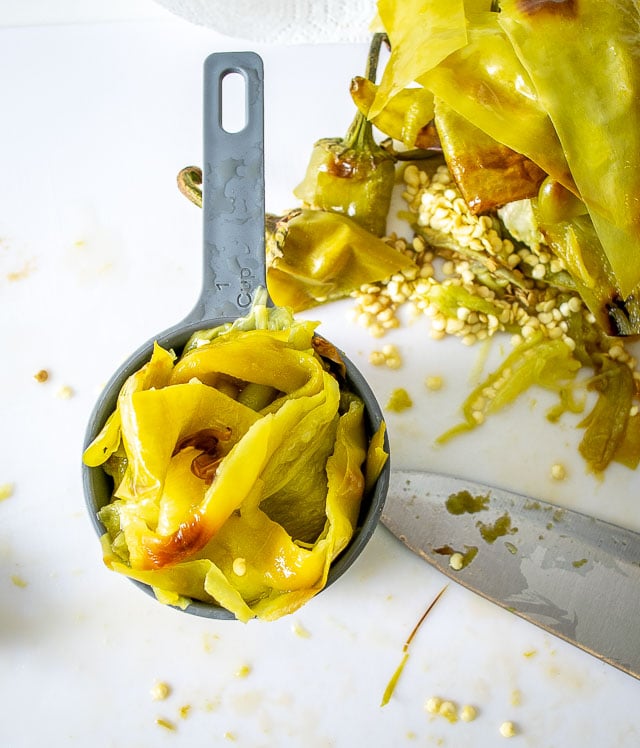
Peeling and Deseeding: Allow the roasted chiles to cool sufficiently for handling. Gently pull away and discard the blistered outer skins—done primarily for texture rather than flavor—and remove the stems and core seeds. Perfection is not required here; leaving a few seeds behind will not compromise the final sauce. This yields roughly 1.5 cups of diced chile pieces, perfectly proportioned for an 8-enchilada batch serving two hungry diners.
Phase 2: Simmering the Sauce
While the chiles roast, home cooks can initiate the supporting ingredients to build a deeply savory, buttery base.
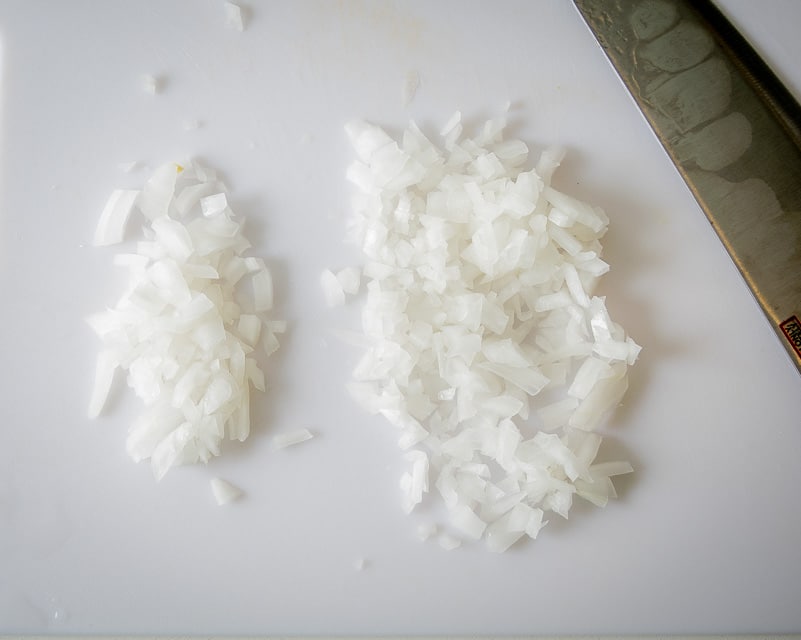
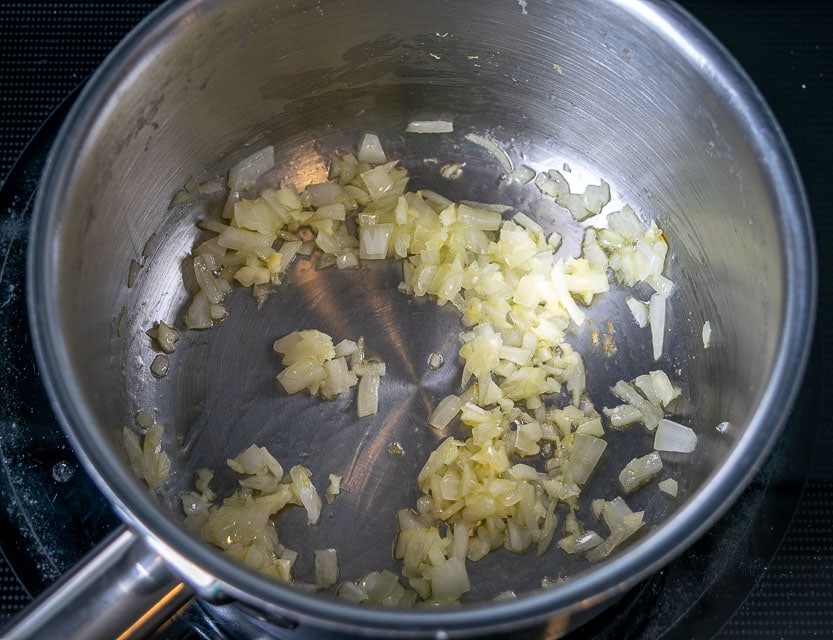
Aromatics: Finely chop half of a yellow onion, reserving a few tablespoons for the interior enchilada filling. Sweat the majority of the onions in a skillet with a small amount of oil over medium heat until translucent, then introduce a single finely minced garlic clove for the final minute of cooking.
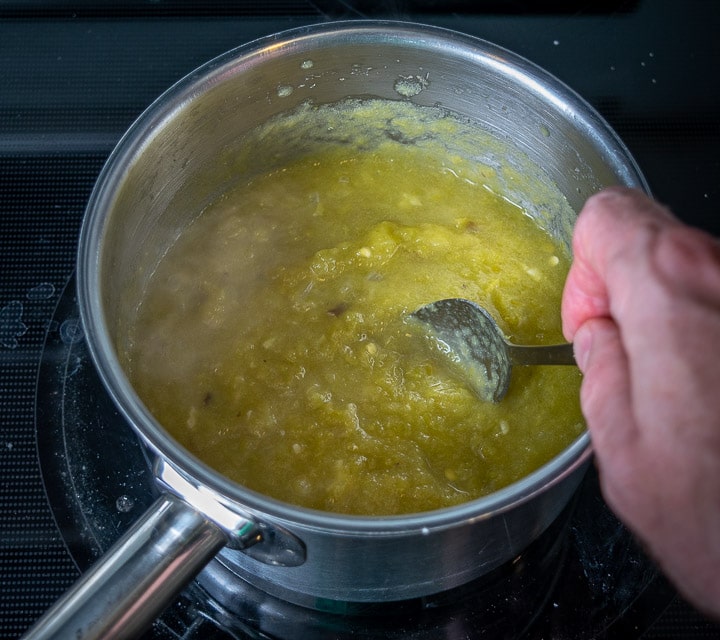
Blending and Simmering: Transfer the diced Hatch chiles into a blender along with a splash of water or stock, pulsing until coarsely combined. Combine this puree with the sautéed onion and garlic mixture in a saucepan.
The Seasoning Blend: Stir in 1 cup of stock (homemade low-sodium chicken stock is optimal), 1 teaspoon of authentic Mexican oregano, a pinch of cumin, 1/4 teaspoon of salt (adjusted according to the sodium content of the stock), and freshly cracked black pepper. Allow the mixture to simmer gently for a few minutes, tasting periodically until the savory, buttery notes of the Hatch chiles come to the forefront.
Phase 3: Crafting the Chicken Filling
Efficiency is key: the chicken can be cooked simultaneously while the chiles roast in the oven.
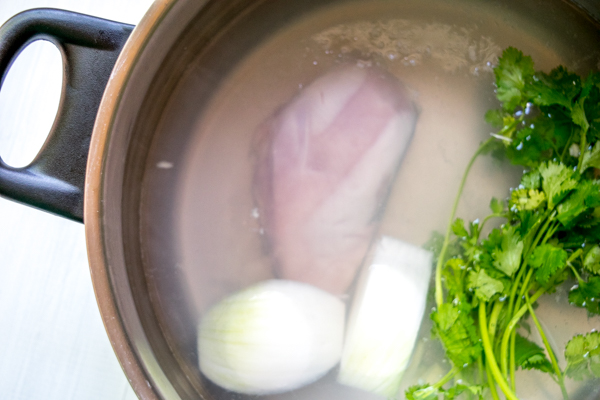
Poaching for Tenderness: Submerge a single chicken breast in cold water within a saucepan. Bring the liquid to a boil, then reduce the heat to a steady simmer. For added depth, toss onion chunks, cilantro, and salt into the poaching water. Allow it to cook undisturbed for roughly 20 minutes until the interior is completely opaque and fully cooked.
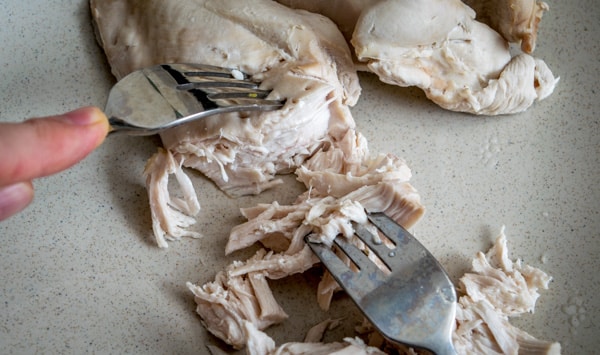
Shredding: Remove the chicken, set it aside to rest and cool, and then shred the meat thoroughly using two forks. (Alternatively, a brine-and-bake method involving a 30-minute saltwater soak followed by a 20-minute roast at 400°F works exceptionally well).
Phase 4: Assembly and Baking
Tortilla Preparation: Pliability is essential for corn tortillas to prevent tearing. Warm them in the oven for a few minutes or microwave them for 60 seconds wrapped in damp paper towels.
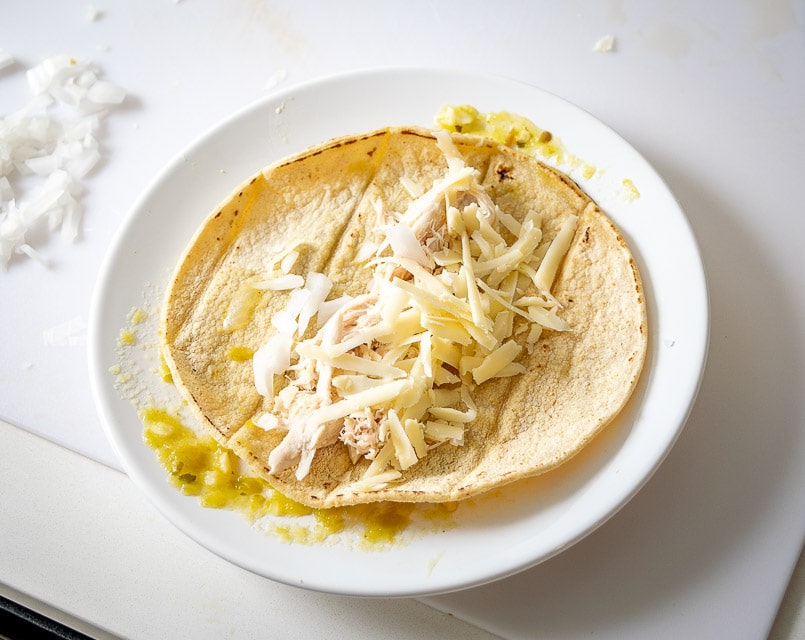
Dredging and Filling: Pour a thin layer of the prepared Hatch sauce onto a flat plate. Lightly dredge a warm corn tortilla through the sauce, flipping it to coat both sides—ensuring the interior absorbs the rich flavor. Fill the center with a handful of shredded chicken, a pinch of reserved raw onion, and a generous measure of shredded cheese.
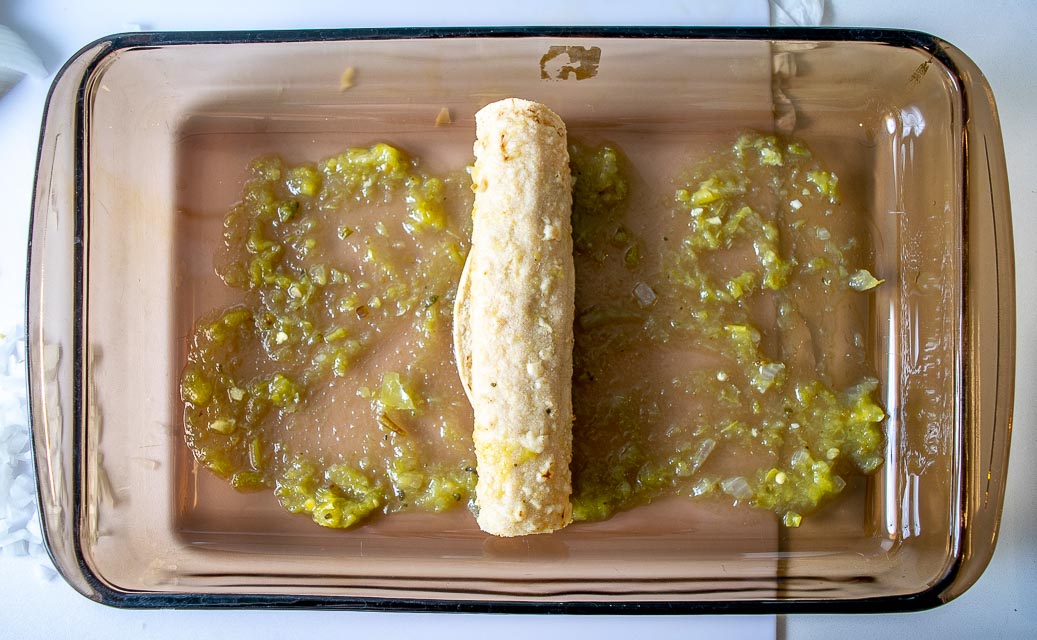
Rolling and Drenching: Roll the tortillas tightly and place them seam-side down in a lightly sauced baking dish to prevent sticking. Repeat until the chicken is fully utilized (typically yielding 7 to 8 enchiladas).
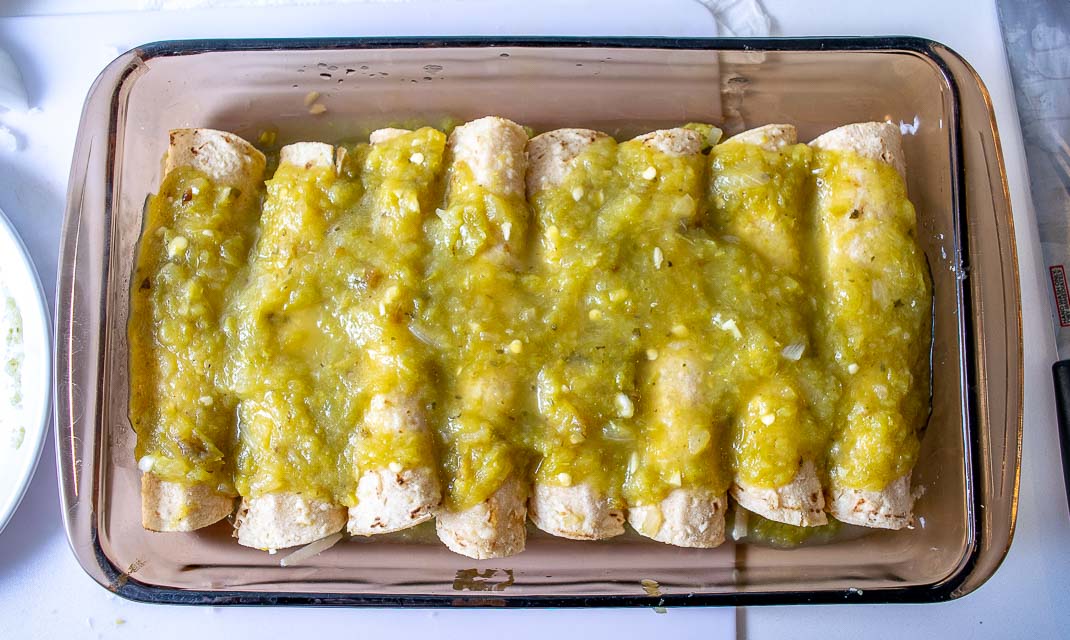
The Final Bake: Liberally drench the arranged enchiladas with the remaining Hatch green chile sauce, giving the dish a gentle shake to let the liquid seep into the crevices. Top with a final blanket of shredded cheese. Bake in a preheated 400°F oven for approximately 10 minutes, or until the cheese is bubbling and melted, and the tortilla edges begin to crisp slightly.
Supporting Data: Nutritional and Culinary Metrics
Yield: Generous portions for two people (7 to 8 standard-sized enchiladas).
Prep & Cook Time: Approximately 45 minutes total (simultaneous roasting and poaching).
Baking Parameters: 400°F (approx. 200°C) for 10 minutes.
Key Components: 1.5 cups of diced roasted Hatch chiles, 1 cup chicken stock, 1 teaspoon Mexican oregano, corn tortillas, shredded chicken, and melting cheese.
Sodium Management: Homemade, sodium-free chicken stock allows the cook to precisely control the salinity of the sauce, contrasting sharply with commercial high-sodium broths.
Official Responses and Culinary Expert Perspectives
Culinary experts and New Mexican food historians frequently emphasize the irreplaceable nature of authentic regional ingredients. Chefs across the Southwest point out that while generic green chiles or standard poblano peppers offer commendable substitutes, they lack the distinct climatic footprint of the Hatch Valley.
"Hatch chiles possess a proprietary harmony of earthiness, smoke, and mild fruitiness that simply cannot be replicated anywhere else on earth," notes regional food anthropologist Dr. Elena Vance. "When you build an enchilada sauce using peppers roasted over open flame, you aren’t just adding heat—you are invoking centuries of agricultural tradition."
Furthermore, culinary instructors recommend prioritizing authentic Mexican oregano over standard Mediterranean varieties. Unlike its Greek counterpart, true Mexican oregano belongs to the verbena family, offering a more robust, citrusy, and earthy flavor profile that stands up exceptionally well to the pungent qualities of roasted green chiles.
Implications: Broadening the American Palate for Regional Produce
The surging nationwide popularity of Hatch chile season carries significant implications for both domestic agriculture and home cooking trends. As consumers increasingly prioritize authentic, place-based food sourcing—comparable to regional wine appellations or artisanal coffee beans—demand for direct-to-consumer online agricultural shipping has skyrocketed.
For the home cook, embracing seasonal ingredients like Hatch chiles represents a shift away from overly processed convenience foods toward intentional, scratch-made cooking. By mastering foundational techniques such as roasting, peeling, and balancing regional spices, culinary enthusiasts can elevate simple weeknight dinners—like chicken and cheese enchiladas—into vibrant celebrations of agricultural heritage.
Whether enjoyed bare-bones to let the pure flavor of the pepper shine or garnished minimally with fresh cilantro and lime, these dishes prove that when exceptional ingredients are given the chance to do the heavy lifting, the results are nothing short of remarkable. Buen provecho!