For those navigating the complexities of gluten-free baking, few desserts are as intimidating—or as rewarding—as a classic blackberry cobbler. It requires a delicate balance: the filling must achieve a deep, jammy consistency without becoming a runny mess, while the topping must avoid the common pitfalls of gluten-free flour, such as gumminess or a dry, sandy texture.
In this comprehensive guide, we explore the methodology behind a high-performing, gluten-free blackberry cobbler that delivers restaurant-quality results in any home kitchen. Whether you are a long-time gluten-free baker or someone accommodating a new dietary restriction, this recipe offers a reliable blueprint for success.
Main Facts: The Anatomy of a Perfect Cobbler
At its core, a superior cobbler relies on two distinct components working in harmony: a fruit base that maintains its structural integrity and a biscuit-style topping that provides a fluffy, golden contrast.
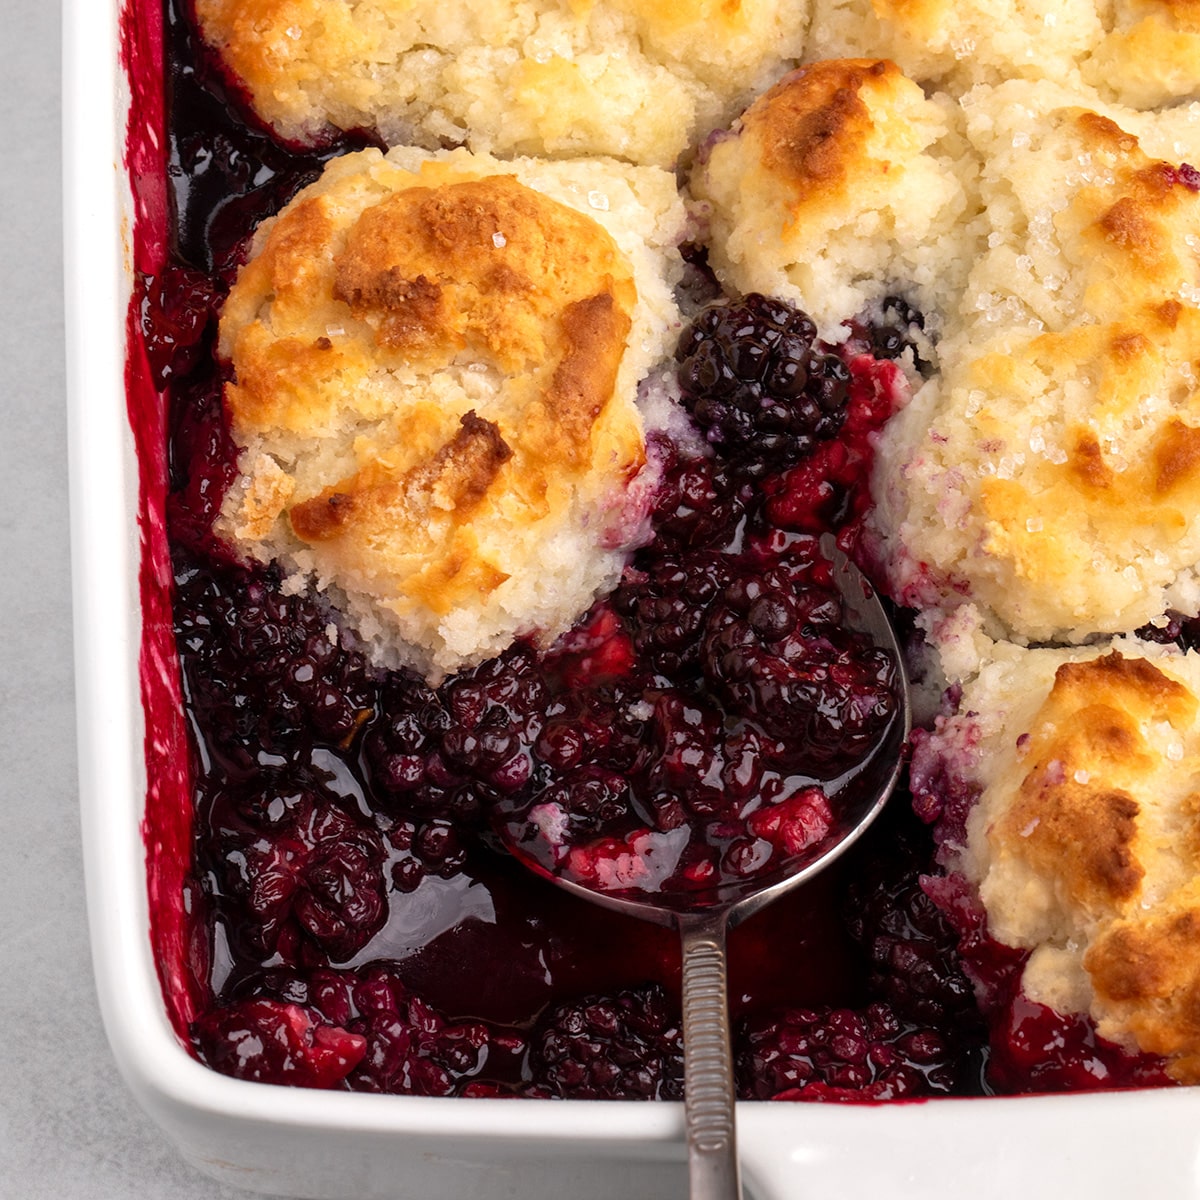
The challenge with blackberries is their inherent variability. Some harvests are tart and firm, while others are sweet and prone to turning into a watery soup when heated. This recipe addresses these variables through three critical pillars:
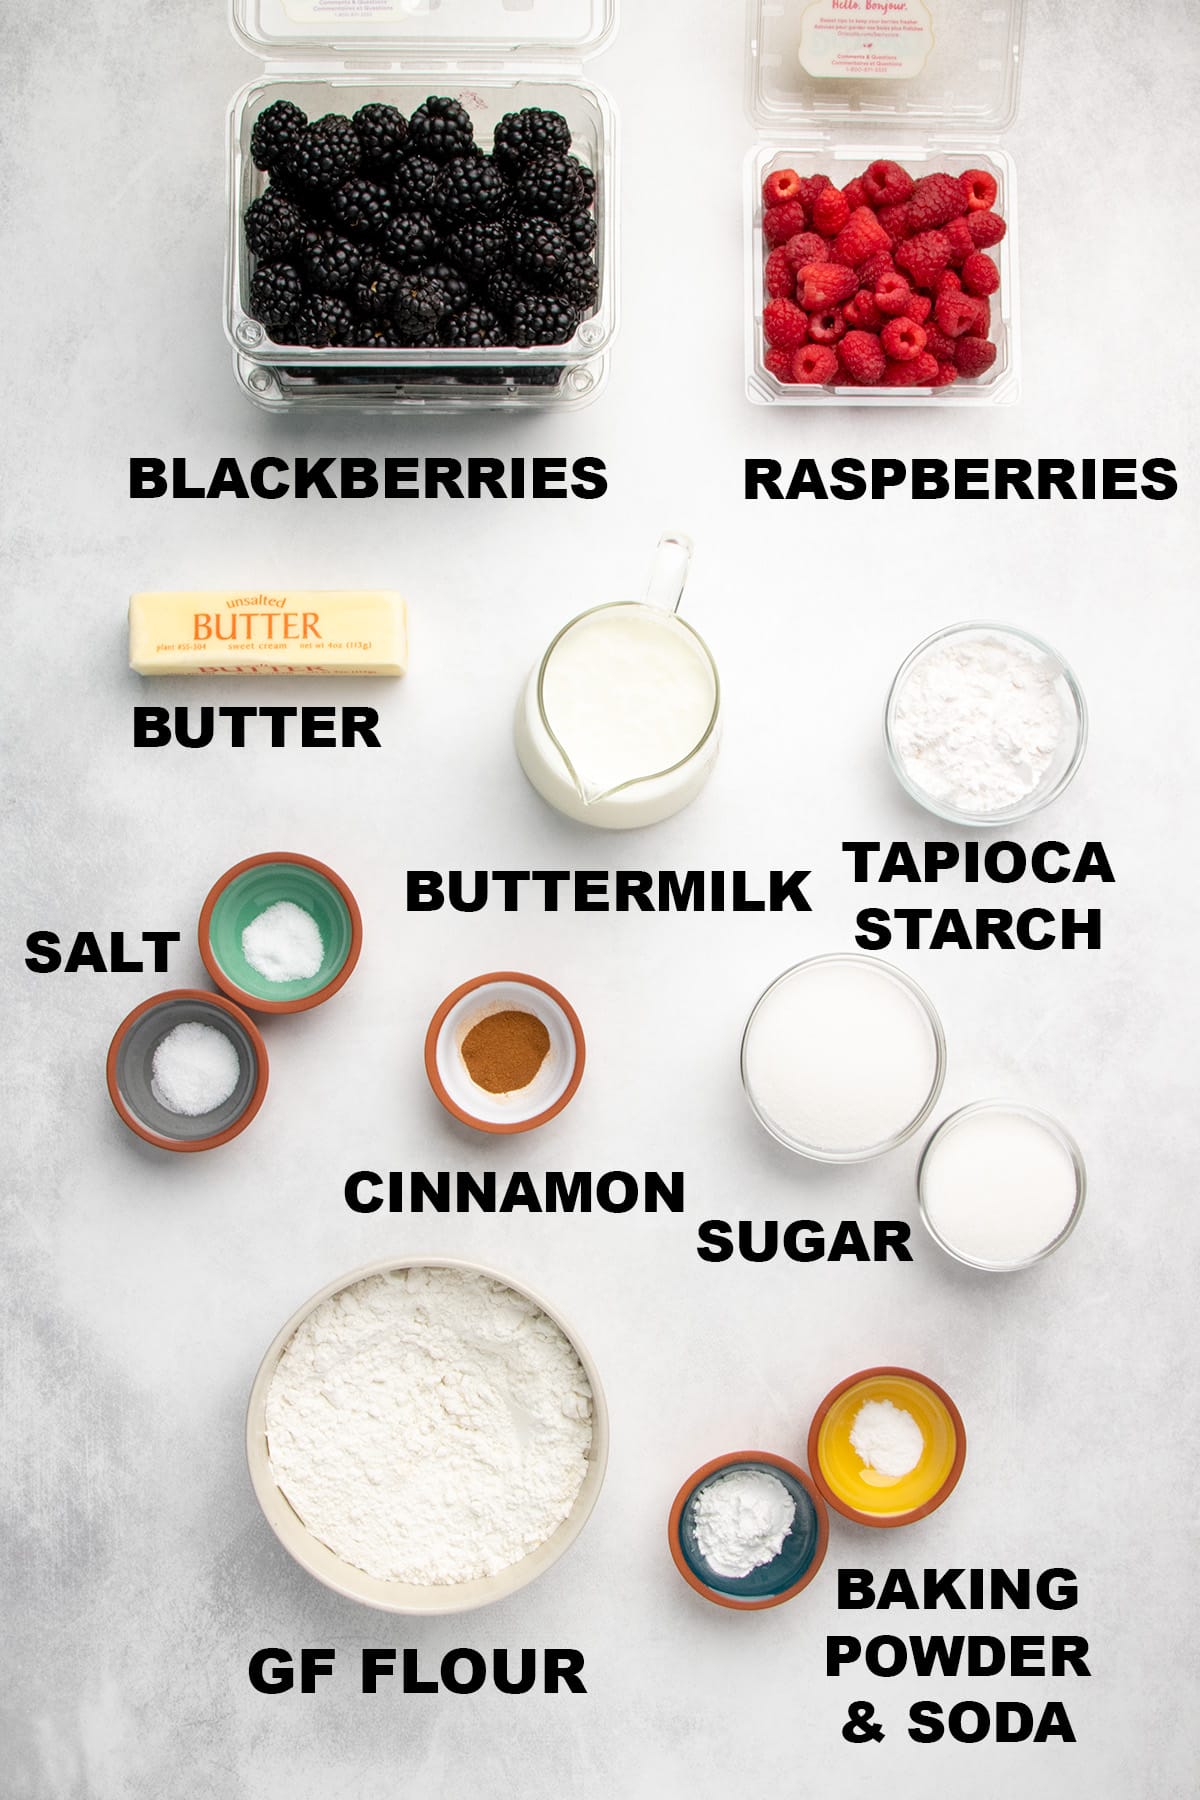
- Tapioca Starch Integration: Unlike cornstarch, which can turn cloudy, or arrowroot, which may struggle with the acidity of blackberries, tapioca starch creates a glossy, thick syrup that maintains a clean mouthfeel and provides a stable structure.
- Strategic Fruit Pairing: By incorporating a small portion of raspberries, the recipe introduces a bright, acidic counterpoint that elevates the deeper, earthier notes of the blackberries.
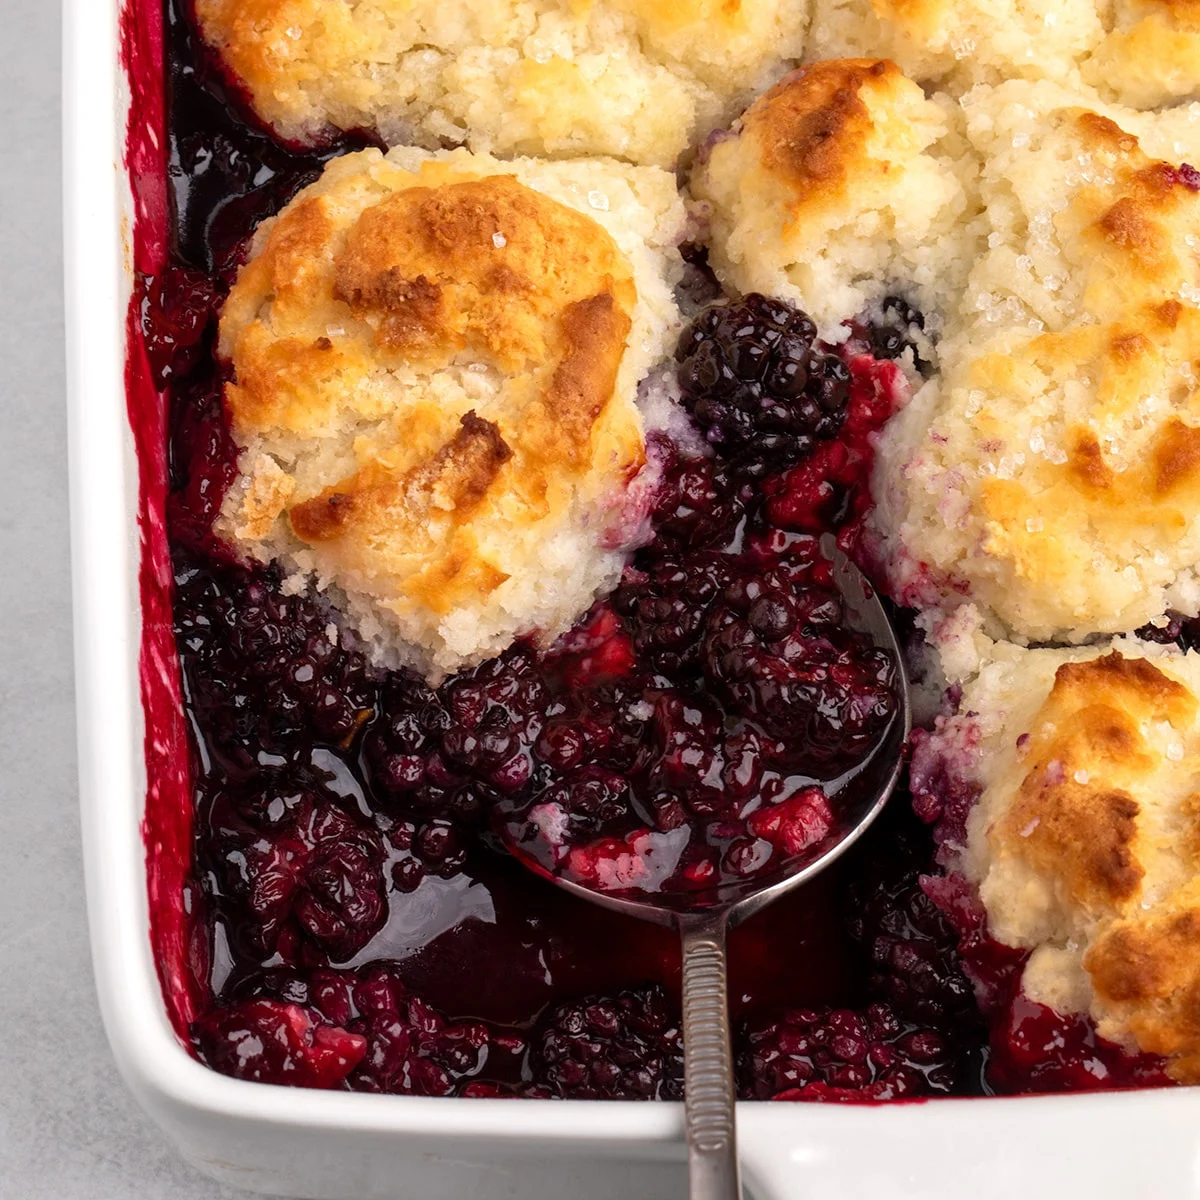
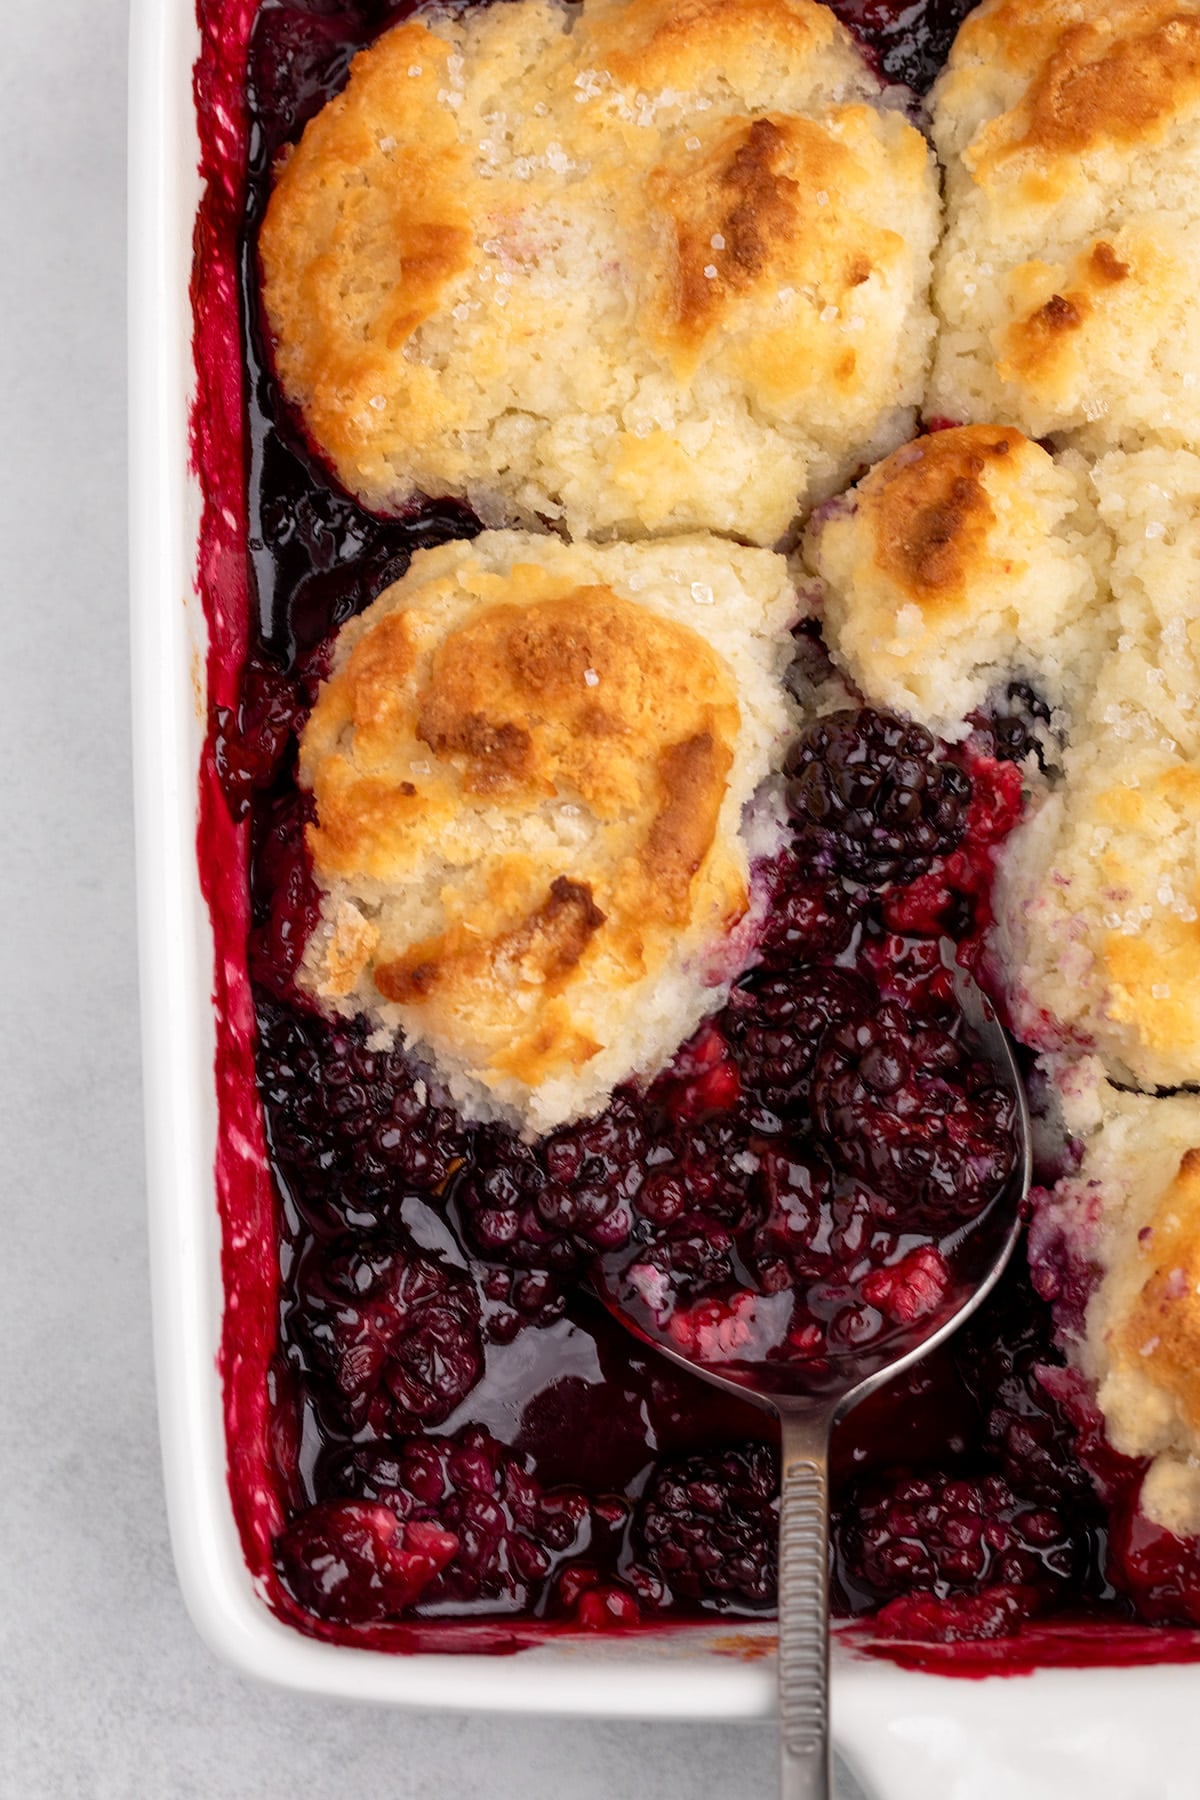
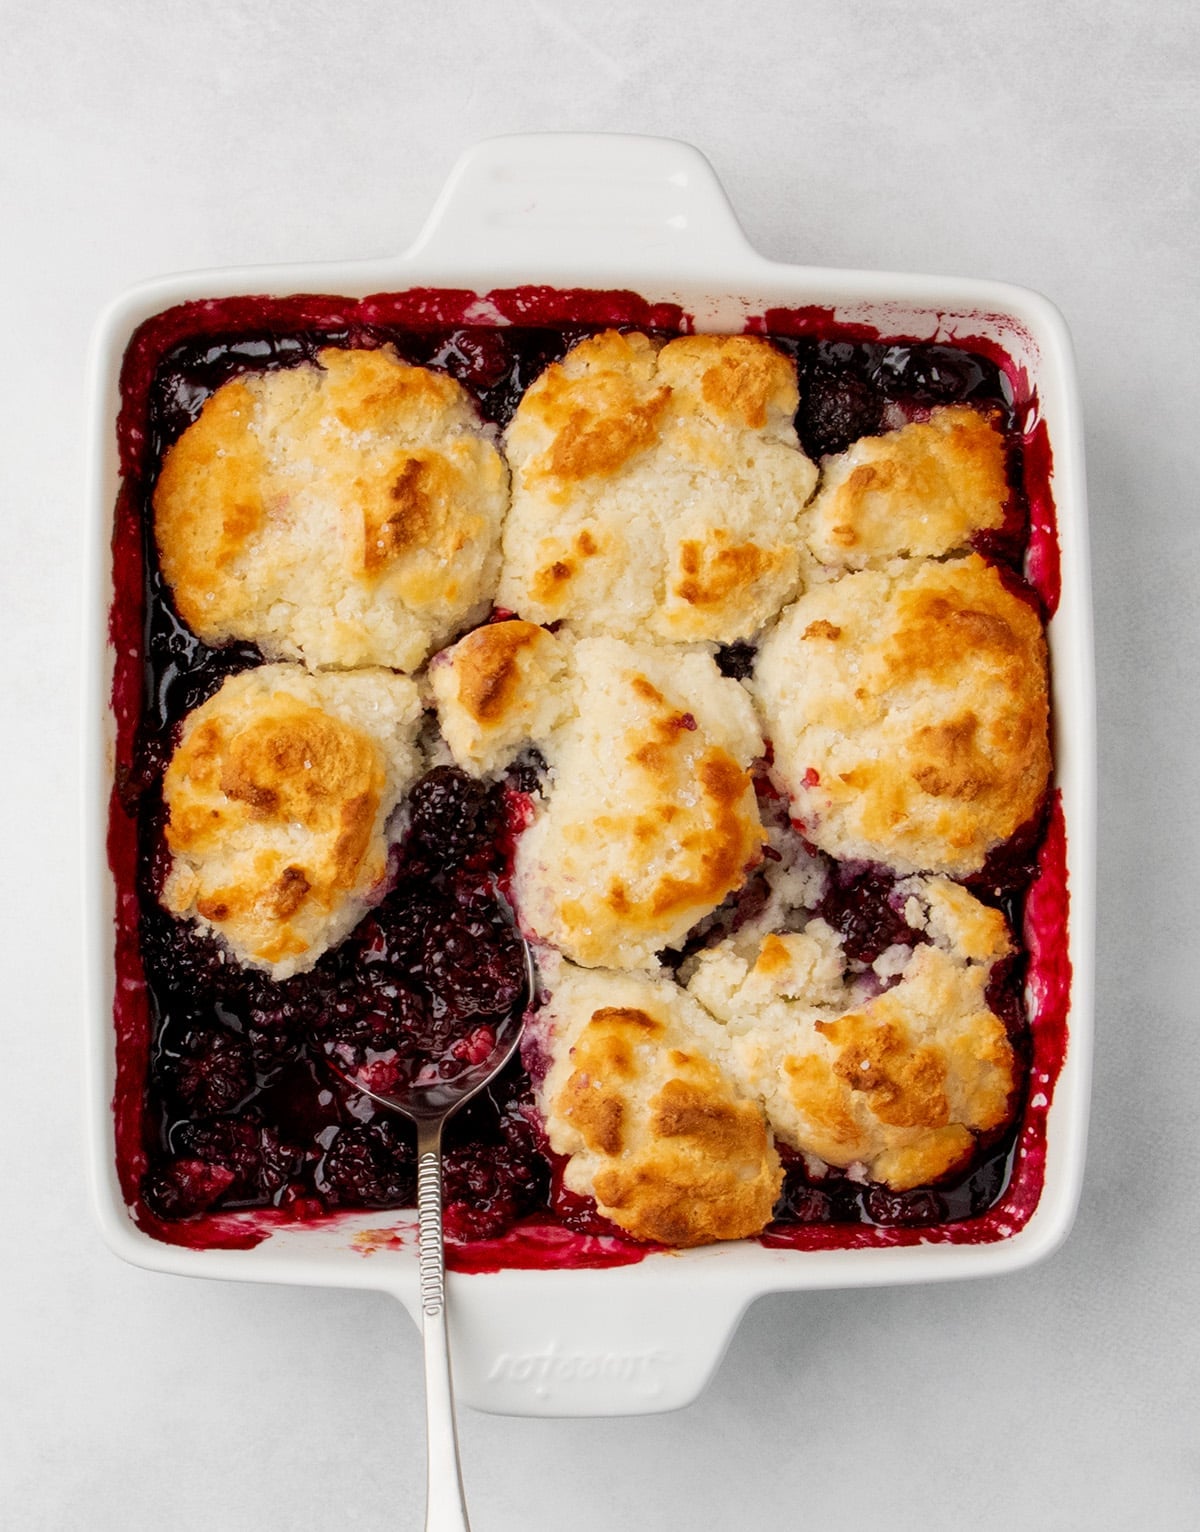
- The "Cobblestone" Topping: The biscuit topping is intentionally formulated with a higher moisture content than a traditional drop biscuit. This allows the dough to spread and settle during the initial stages of baking, creating the classic, rustic "cobblestone" appearance.
Chronology: The Step-by-Step Culinary Process
Achieving consistency requires a disciplined approach to preparation. Following the proper sequence ensures that every ingredient functions as intended.
Phase 1: Preparing the Fruit Base
The process begins with the dry filling ingredients: granulated sugar, tapioca starch, a pinch of salt, and a touch of cinnamon. These are whisked together before being introduced to the berries. A critical step often overlooked by novices is the gentle handling of the fruit. By tossing the berries carefully in the starch mixture, you ensure they are coated without being bruised, which preserves the integrity of the berries during the baking process. A portion of the starch-sugar mixture is reserved specifically for the raspberries, allowing them to be layered with precision on top of the blackberry foundation.
Phase 2: Mastering the Pastry Topping
The key to a tender gluten-free biscuit lies in the temperature of the fat. The butter must be kept exceptionally cold and sliced into thin, uniform shards. When tossed with the gluten-free flour blend, these shards remain distinct. As the cobbler enters the hot oven, these pockets of butter release steam, creating microscopic layers that result in a light, flaky texture rather than a dense, heavy crumb.
Phase 3: The Assembly and Thermal Management
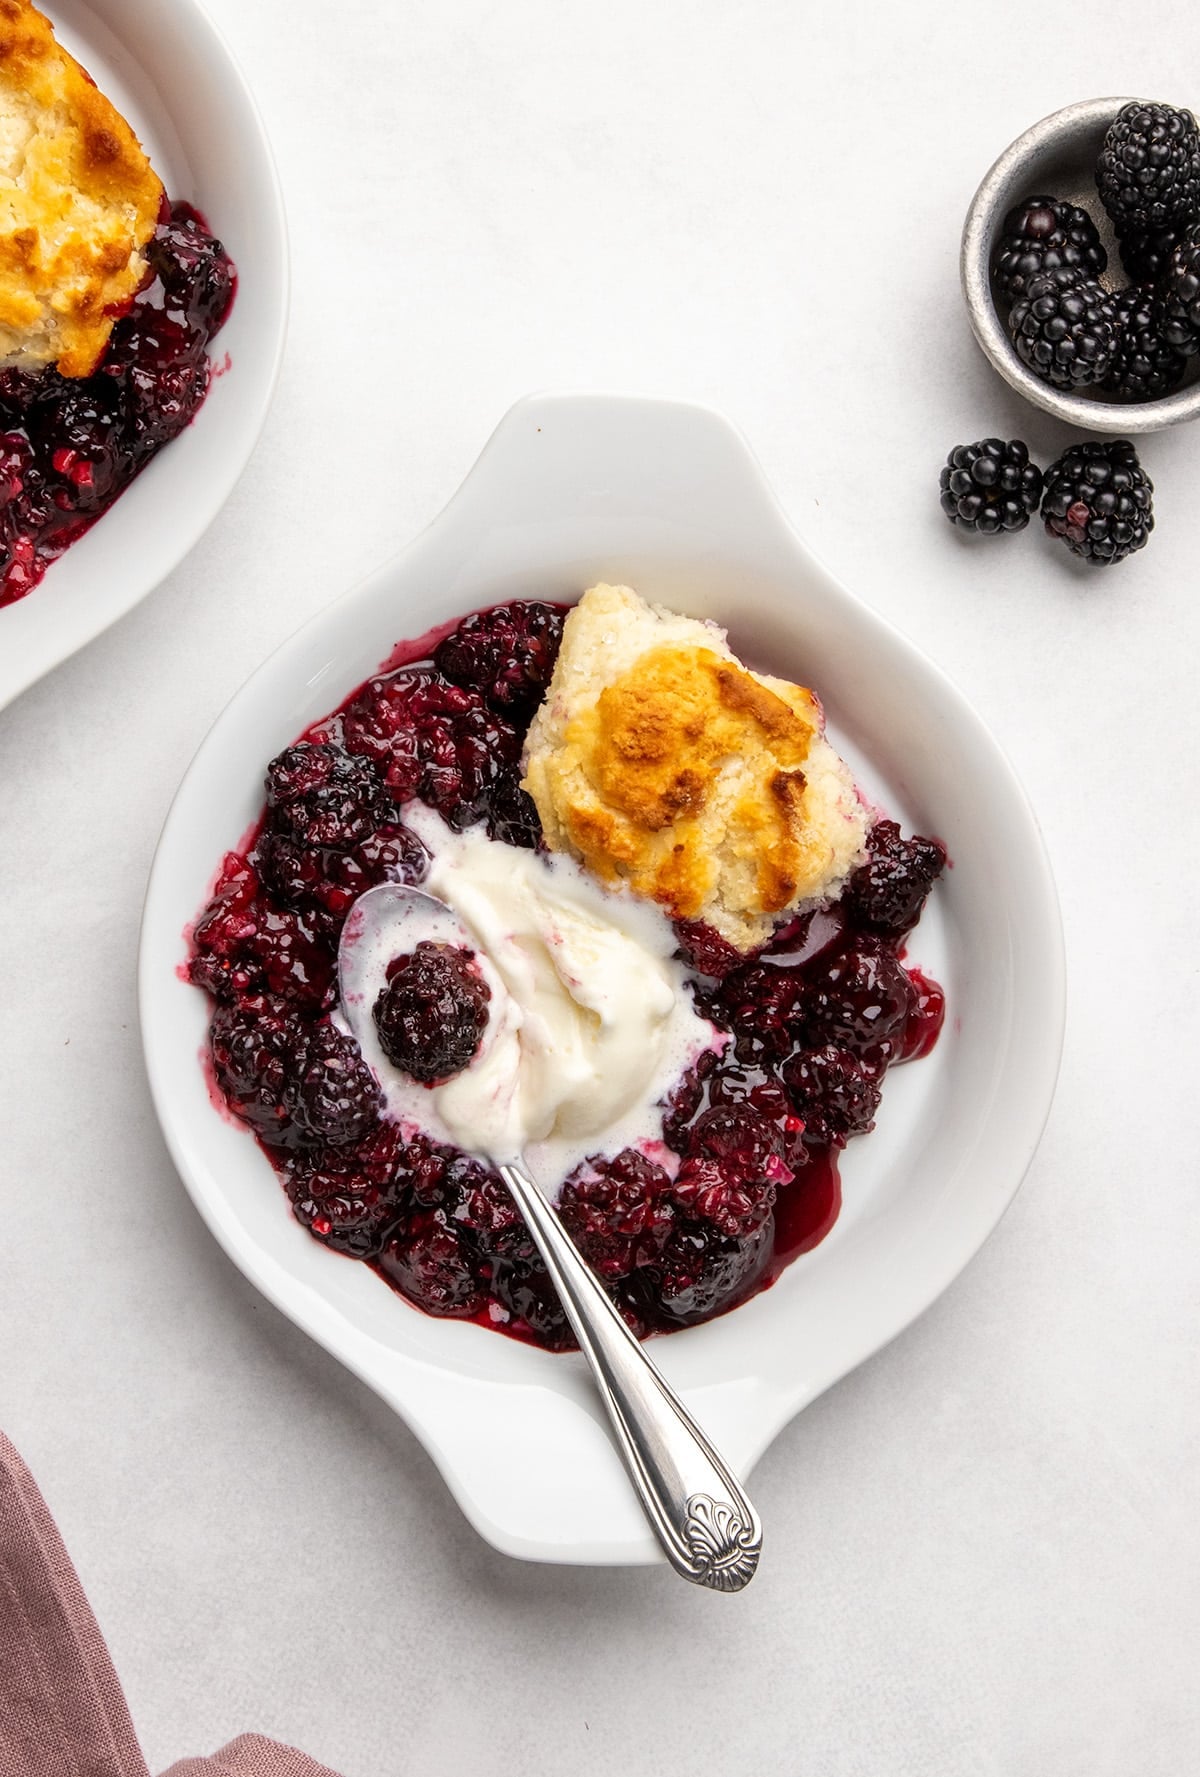
The dough is folded with cold buttermilk until it reaches a sticky, cohesive consistency. Using a spring-loaded ice cream scoop, the dough is portioned into seven or eight uniform mounds. These are placed strategically in the center of the baking dish.
The baking process utilizes a "dual-temperature" technique. The oven begins at 375°F (190°C) to provide the initial burst of heat required for the leavening agents to activate and the berries to begin their transformation into syrup. After 20 minutes, the temperature is reduced to 350°F (176°C) to ensure the topping bakes through to the center without burning the exterior.
Supporting Data: Ingredient Roles and Substitutions
Success in gluten-free baking is rarely about luck; it is about the chemistry of the ingredients.
- The Flour Blend: The recipe assumes the use of a high-quality all-purpose gluten-free flour, such as Better Batter or Nicole’s Best. If using a blend that lacks xanthan gum, it is imperative to add a scant 1/2 teaspoon to ensure the structure of the biscuits holds together.
- Dairy and Alternatives: For those requiring a dairy-free adaptation, block-style vegan butter (such as Miyoko’s) is recommended over tub margarines, as the latter contains too much water. When substituting for buttermilk, a blend of unsweetened coconut milk and dairy-free sour cream mimics the acidity and viscosity of the original ingredient perfectly.
- The Starch Variable: While tapioca starch is the gold standard for this recipe, superfine white rice flour can serve as a secondary option. However, users should be cautioned that rice flour lacks the thickening power of starch and may result in a slightly different mouthfeel.
Official Responses: Addressing Common Culinary Queries
In the community of gluten-free bakers, several questions arise frequently regarding the longevity and storage of this dish.
Is it possible to prepare the cobbler in advance?
Culinary experts advise against assembling the cobbler and letting it sit. The moisture from the berries will compromise the biscuit topping before it ever hits the oven. The ideal workflow is to prepare the fruit and the topping separately, then assemble immediately before baking.
How should leftovers be handled?
Because this recipe features a fluffy, tender topping rather than a crispy, short-pastry crust, it stores exceptionally well. Once completely cooled, the cobbler can be kept in an airtight container at room temperature for up to three days. For those looking to extend the shelf life, refrigeration is an option, though it is noted that the texture may become slightly denser. To refresh leftovers, a brief warming in the microwave will loosen the berry syrup and restore the topping’s softness.
Implications: The Shift in Gluten-Free Standards
The publication of this recipe represents a broader trend in the gluten-free movement: the rejection of "good enough." For years, the gluten-free community was forced to settle for desserts that were dry, crumbly, or fundamentally different in flavor from their gluten-containing counterparts.
By focusing on high-quality ingredients—such as fresh, seasonal berries and cultured buttermilk—and employing professional baking techniques like the dual-temperature bake, this recipe demonstrates that gluten-free desserts can be indistinguishable from traditional versions.
This approach has significant implications for home bakers who no longer need to prepare separate meals for guests with dietary restrictions. When the end product is as delicious as a standard blackberry cobbler, the "gluten-free" label becomes an afterthought, secondary to the quality of the dish itself. This is the new standard: food that is accessible to all, without compromising on the joy of a classic, jammy, golden-topped dessert.
In conclusion, the key to mastering this dish lies in the details—from the cold butter to the specific choice of starch. By respecting the science of the bake, home cooks can consistently produce a dessert that stands as a testament to how far gluten-free culinary arts have advanced in the modern era.